Vexy Lines 2 is here!
Say hello to Vexy Lines 2, with all-new image filters, a stroke-cutting sharp mask, cross-hatching diamond dots, organic wobble & rough strokes, much faster parameter tweaking, and hundreds of other improvements. If you have Vexy Lines 1, it’s free!
In this article, we’re covering the new features in Vexy Lines 2.0, and also those that we added Vexy Lines 1.1. If you already have Vexy Lines, use Check for Updates to get the latest version. If you don’t, now is a good time!
What’s Vexy Lines?
With Vexy Lines, you can transform your photos and bitmap images into infinitely scalable vector artwork.
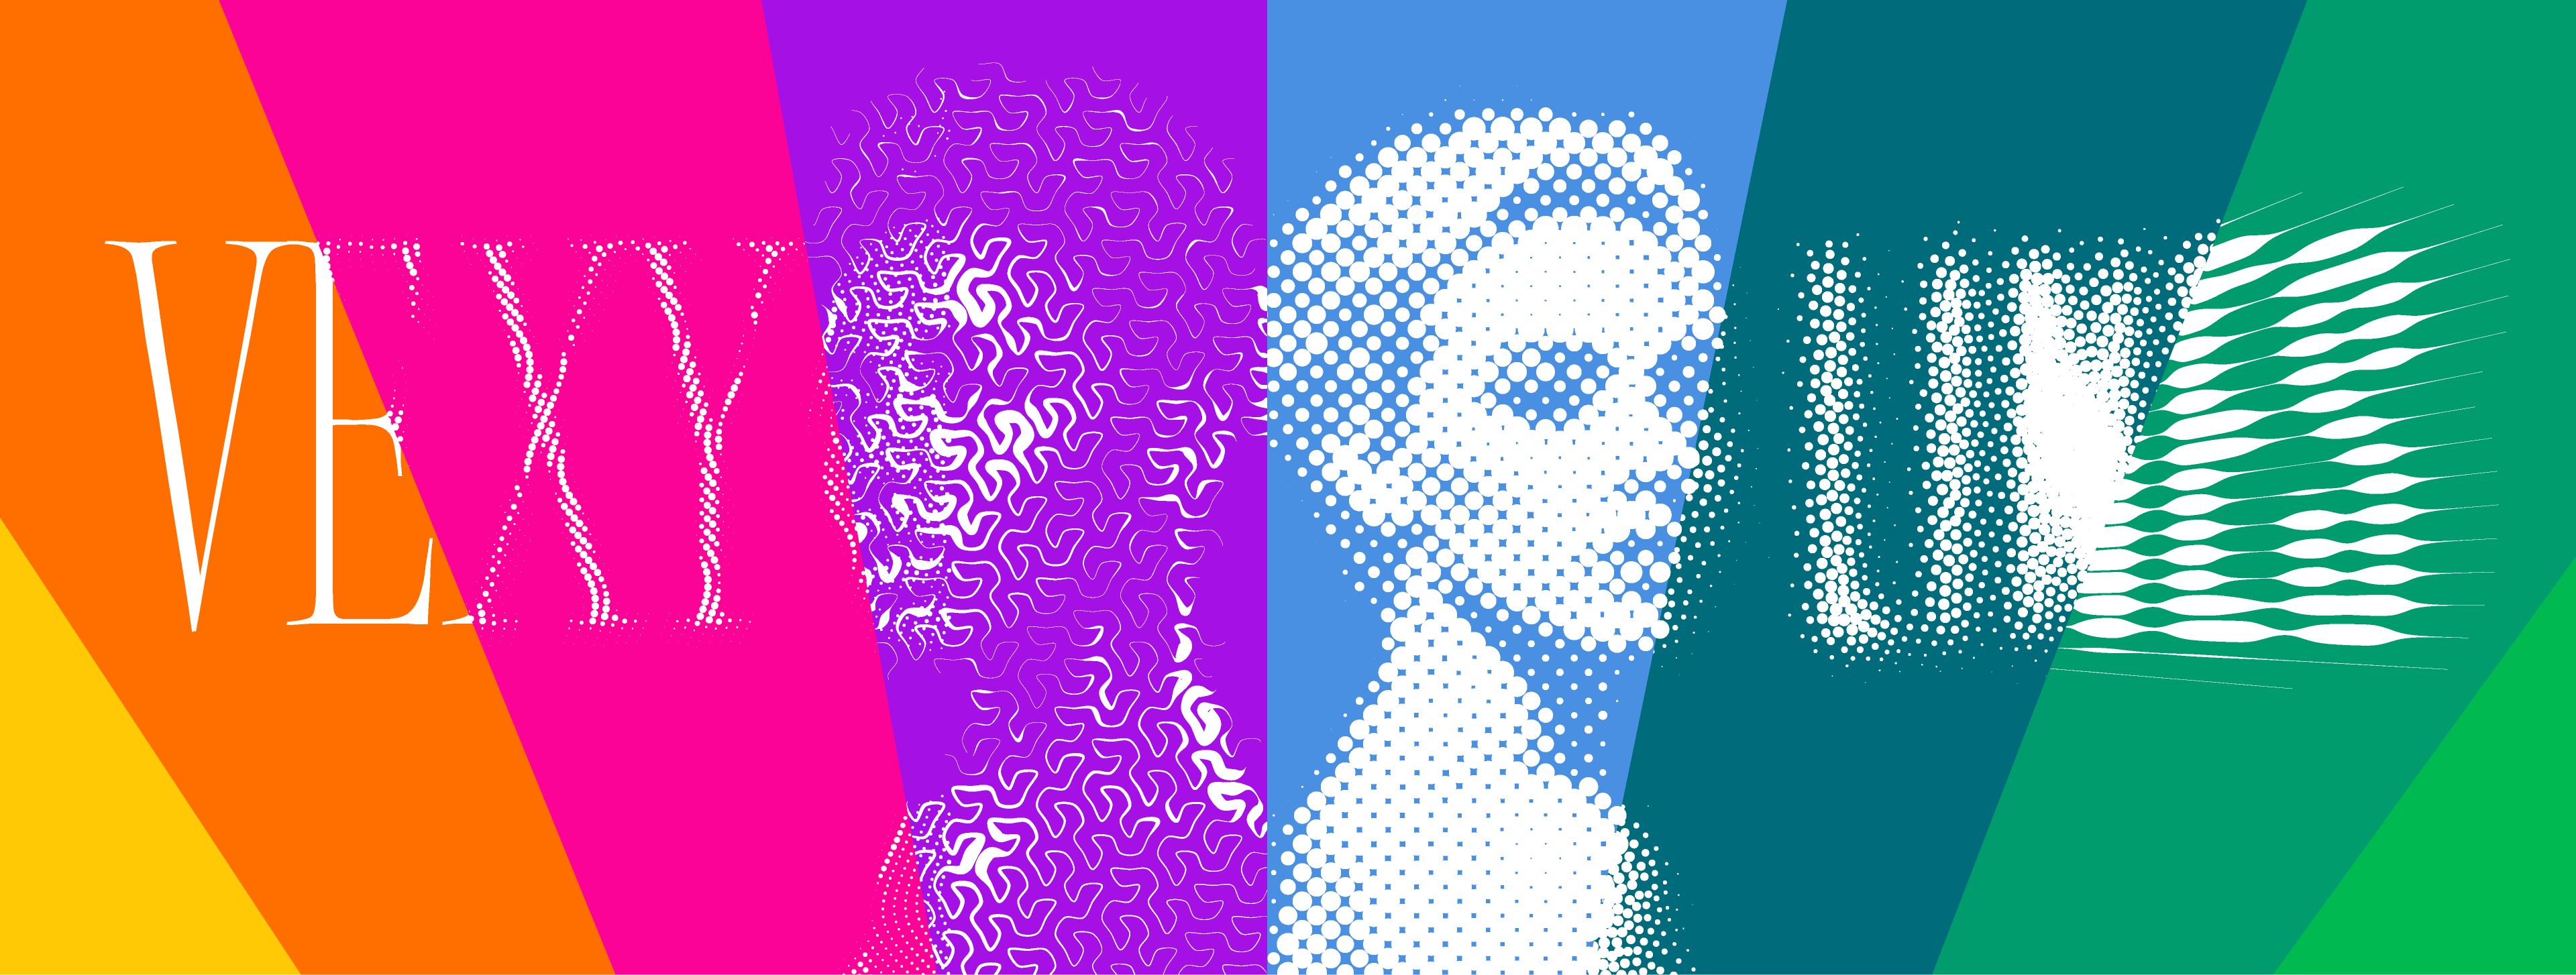
From traditional autotrace, to engraving-style line art, retro halftone dot patterns, impactful spirals, wave textures, scribbles, wireframes, fractal curves—and even variable text, where typesetting dynamically picks variable font instances depending on the region of the underlying source image.
Start by applying a single fill for immediate results. Use masks to apply different fills on parts of the image. Add an extra dimension with a mesh. Then export or copy the result as a scalable SVG or PDF graphic, or as a PNG or JPEG.
Every fill transforms the source image into signal with filters, and from it generates pattern paths: lines or dots that form the skeleton of the fill. Then stroke parameters render the paths into strokes. Keep that chain in mind—signal, paths, strokes—because most of what’s new sharpens one link in it.
New in 2.0: Image filters
Optimal stroke parameters are only half of impactful vector artwork—the signal itself matters just as much. The source image is the control surface for the finished artwork. When a fill turns your image into engraving lines, halftone dots, or hatching, the pixels decide how dense the pattern gets, where strokes thicken and thin, how the lines break and gather.
But you don’t easily see it upfront: a photo can look perfectly good on screen and still produce a muddy, clogged halftone or a thin, lifeless engraving.
Where 1.1 gave you brightness and contrast, 2.0 turns that into a full filter stack. New image postprocessing filters added on any fill change how that fill interprets the source image. Use the Filters section of the Properties panel to add, remove, or reorder filters on the current fill.
Nudge the contrast and watch the lines respond. Sharpen the source and watch the halftone tighten. Lift the shadows and watch detail appear in the dark areas of the pattern. You’re adjusting the signal and shaping the vectors. Finally, you can experiment until it’s right instead of exporting, re-importing, and hoping.
Adjust Brightness, Contrast, Levels, Shadows / Highlights. Sharpen or Blur. Invert the image or restrict its Color range.
Add a Gradient to a path-producing fill, base a Text fill on it, use a variable font, and watch weight or width change smoothly along the gradient. Or emphasize the foreground and fade the rest with Remove background—it uses an algorithm tuned to your platform and is never fast, so use it sparingly.
In the Image & Signal section, click the new Show source image to preview the postprocessed result, or use the Histogram to limit the final signal threshold.
New in 2.0: Sharp masks
Each layer’s mask defines its active regions. The Normal mask cuts the pattern paths, which are then expanded into strokes—so those strokes can spill past the mask boundary. Smooth mask softens the signal gradually with a tolerance you set.
The new Sharp mask cuts the rendered strokes precisely at the mask boundaries. No spill.
And when Mask Overlay makes the current layer’s active regions inactive in the group’s layers below, those excluded regions now render correctly in red if Highlight Masks is on.
- Updated in 1.1: With the Brush tool active, tap [ and ] to decrease or increase the mask brush size
New in 2.0: Diamond dots
Say you have fills that together form a grid of small cells enclosed by crossing paths—for example, two Linear fills at different angles that intersect into diamond-shaped cells.
Select two or more such fills, choose Create Diamond Dots from the Fill menu, and Vexy Lines builds a new “Diamond Dots” fill. This new Handmade fill consists of short lines that run diagonally through each cell, with a short stroke—the “diamond dot” growing from the middle of each cell. Drag the end nodes of each line to adjust the line lengths, and in the Handmade Fill section decide how much of that length renders as the dot.
New in 2.0: More organic strokes
The Stroke Thickness section gains two parameters you can combine:
Wobble adds hand-drawn pen jitter to the stroke. Rough adds high-frequency paper roughness. Together they take the mechanical edge off a vectorized line.
New in 2.0: Drag parameter icons
Whenever a numeric field in the Properties panel has an icon to the left of the number, you can press-and-hold the icon—a small captioned slider appears underneath. Drag the icon to change the value: a short drag tunes precisely, a longer drag moves faster. It works for fill parameters like interval and rotation, and stroke parameters like smoothing and thinning. (Real sliders, like opacity, stroke thickness, and the dashes line threshold, still work the way they always did.)
New in 1.1: Flowlines fill
Flowlines is a Handmade Fill subtype where strokes follow a direction field generated from the image. They wrap around shapes and follow edges instead of cutting across them.
Imagine your source image is a terrain immersed in water. Auto Flowlines generates currents that cross and combine depending on the shape of the underwater terrain. Each stroke is a little paper ship that sails across the image, guided by those currents—following edges, wrapping around forms, changing direction where the image does.
Flowlines also works in manual mode: draw a few base lines with the Pencil tool and the currents reshape themselves to follow them, as if you dipped a stick into the water and traced a path. A Push Strength setting controls how strongly strokes continue through dense areas—higher values push deeper between neighbors, lower values stop earlier for a tighter result.
- New in 2.0: Flowlines now finds edges more reliably.
Updated in 1.1: Handmade fills
Three similar Handmade fill kinds are now unified into one Extended subtype, with the joining method (miter, bevel, rounded) moved to a selector near the Stroke shift.
New in 1.1: Stochastic Stippling fill
Stochastic Stippling is a Halftone Fill subtype. It places dots so darker areas are denser and lighter areas are sparser, emulating the classic pen-and-ink stippling technique used in illustration, scientific diagrams, and editorial art. Because the placement is randomized rather than gridded—the same principle behind modern inkjet and fine-art printing—the result is softer and less mechanical than a regular dot grid.
Updated in 1.1: Spiral fill
Spiral Fill now lets you choose the direction of rotation: clockwise or counter-clockwise.
Updated in 1.1: Fractal fill
Fractal Fill got a real overhaul. You can now choose between two space-filling curve types: Huber (square-based) and Gosper (triangle-based). Pattern density moved to the familiar Interval selector instead of the old Depth parameter, and a new Sharp / Round corner selector controls how the curve bends at each turn.
Updated: Fills and strokes
- Auto Thinning makes strokes thinner in crowded areas where many lines meet, reducing buildup in dense regions.
- Fill rotation now allows fractional angles.
- The ends of round-capped strokes draw more correctly on short or tightly-curved segments.
- Dash by Thickness switches between continuous and dashed lines based on stroke thickness rather than image brightness—which pairs nicely with Auto Thinning, since thinned strokes can become dashed too.
- Round dots and dashed caps render correctly where cutting lines cross dashed lines.
- In multi-line Text fill, the first glyph of a line no longer disappears.
- Type in the font picker and matching fonts list at the top, with the rest dimmed rather than hidden.
New in 1.1: Export and file handling
In File > Export As, you choose the format (PDF, SVG, EPS, PNG, JPG), and the destination: clipboard, next to the document with the same base name, or a Save dialog.
After that, File > Export (Cmd+E / Ctrl+E) repeats the last export instantly. Handy for linked workflows and for quickly dropping an SVG or PNG into another app!
Updated in 1.1 and 2.0: Interface and workflow
- In Preferences, you can choose light or dark UI mode.
- Layers panel is faster, with easier drag-and-drop reordering and double-click renaming.
- The canvas refreshes faster after you change fill parameters.
- Handling of layers and groups in the Layers panel is greatly improved
- Alt+drag of nodes is better
- Dragging a selection snaps at the document edge
- Properties panel has had numerous detailed touch-ups.
- You can set a document background color in the Properties panel, included in PDF, SVG, and PNG exports.
- On Windows, File Explorer now shows richer thumbnails and previews for
.linesdocuments.
Plus hundreds of other improvements and fixes throughout the app.
Vexy Lines 2 is a free upgrade for everyone on version 1. Grab it with Check for Updates, and as always, tell us what you make with it—and what you’d like to see next.